Alright so one of the things I really enjoy is Pintrest. So how is one can get so addicted to photos and ideas, it’s not like this whole concept is new of design is new but I am so in love with Pintrest! It’s giving me all kinds of wonderful ideas that I’d love to do and likely never will…but a gal can dream. J
Actually what I love about it is that there is literally a bit of everything on there to suit the needs and wants of just about anyone. I really get hooked on the house ideas and seeing what changes I can put into place when I decide one day to start room by room changes. There soooo many great ideas that I’ll likely end up with quite a mish mash of things where nothing atches.
On a side note I came across a posting earlier of a stress saving, time saving tip when hanging pictures. Talk about making the process a simple one and maybe even enjoyable: Now you can display that fabulous family photo collage with ease!
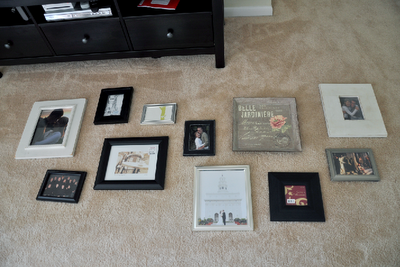
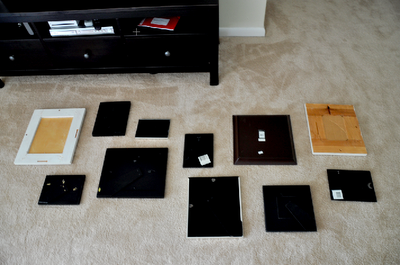
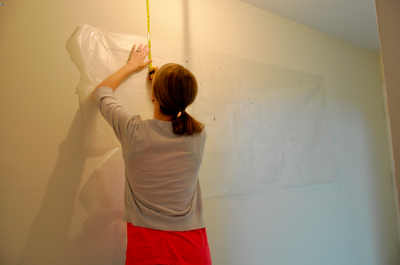
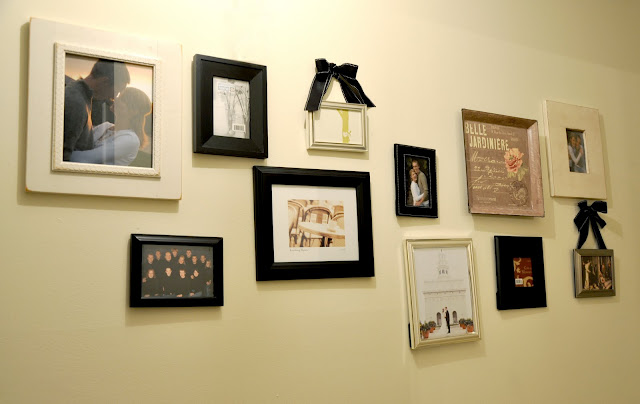
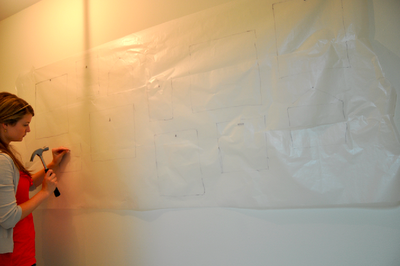
The caption under the photos states “OMG!!!! this is AMAZING …. PURE GENIUS!!!!! A trick for hanging photo collections: Lay out your arrangement. Flip frames over. Lay waxed paper on top of frames. Mark hanger/nail spot on waxed paper. Flip waxed paper over and tape to wall, nail into wall where indicated. Tear down waxed paper. Hang photos. -”
Check this out…..
Another take on the gallery wall
I decided a nice, large-ish photo gallery would be a good way to pull people’s attention away from the tunnel feeling and cover a lot of space on the long wall. There are a million ways to get a frame collage onto the wall, but here is how I did mine:
1. Lay out all the frames on the ground and decide where you want to place them
4. Tape the wax paper to the wall
And pictures for those empty frames 🙂
This link will redirect you to their site where all sorts of other good finds are just waiting. http://roost-home.blogspot.ca/2010/09/another-take-on-gallery-wall.html
Here’s my Pintrest link http://pinterest.com/MySmartHandsLON/ : Have find and enjoy exploring your artistic side!
