One of the things I miss the most since having gone gluten-free is a really good whole wheat bread. Not just whole wheat bread but one that can be eaten fresh or toasted. Well I have to say I’ve go t it!!
Oh my gosh this is by far the best Ive made thus far…whole what that is. It’s got a really great texture so it doesn’t fall apart as soon as you pick it up or in the toaster which as you know is not fun. You’re hungry and waiting for that piece of toast, up it pops and you go to grab it and it completely falls apart and most of it has burnt in the toaster. Well I assure you this is not one of those.
This is insanely tasty and really quite simple to make. I made another one recently, that Ill post another time, and although the taste was great it much more dense and didn’t rise the way I like it too. Also that was an attempt at baking Gluten-free bread in the oven and I am discovering so far I do better with machine breads and playing with the ingredients.
Ingredients
1/4 cup honey
1/1/4 cup coconut oil
11 tbsp of simply egg whites (about 3 lg eggs)
1/3 cup tepid/warm water
1 tsp salt
1 cup potato starch
1 cup quinoa flour – (Could substitute with buckwheat or millet flour)
1 cup teff flour (Again you can substitute with buckwheat or millet flour)
2 tbsp ground flax seeds
1 heaping tbsp xanthan gum
1 tbsp dry active yeast
Directions:
While preparing the dry ingredients I usually have the wet ingredients portioned out and ready to go; that allows them to sit out at room temperature for a bit as well.
Start by putting the wet ingredients and salt in the bread maker.
Then on top of the liquids you want to put in the other dry ingredients (minus the yeast) HOWEVER just to be sure I don’t mess up I measured them out in a bowl first and stirred them up a bit then tossed it into the machine.
Once all the ingredients are in the machine bucket ( add the yeast to the center of it after having created a spot/whole with a spoon)
I set my bread machine to #1 which is the rapid speed and I set it for a 1.5 pound loaf.
Once it starts it’s process I will occasionally lift the lid and scrape the sides down as if you aren’t used to baking gluten-free it sticks quite a bit more than regular bread recipes.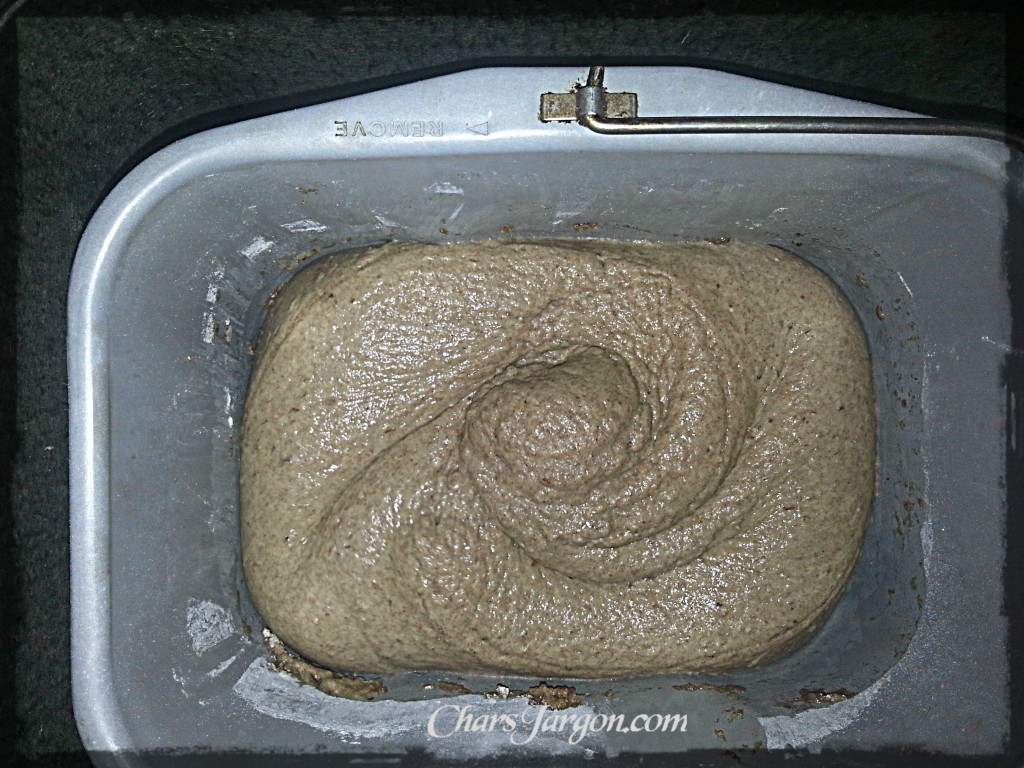
From there just let it runs it course. Unless of course you want to add some nuts now would be the time before it goes into the kneading cycle. Again dependent on the machine it may give you a beep that will indicate it’s a good time to add whatever you intend on adding. Just keep in mind you don’t want to add anything too dry or really moist (ie:fresh fruit) as it will complete alter the recipe and likely be a huge flop….literally!
Myself I just sprinkled some sesame seeds on top as the kneed cycle was ending.
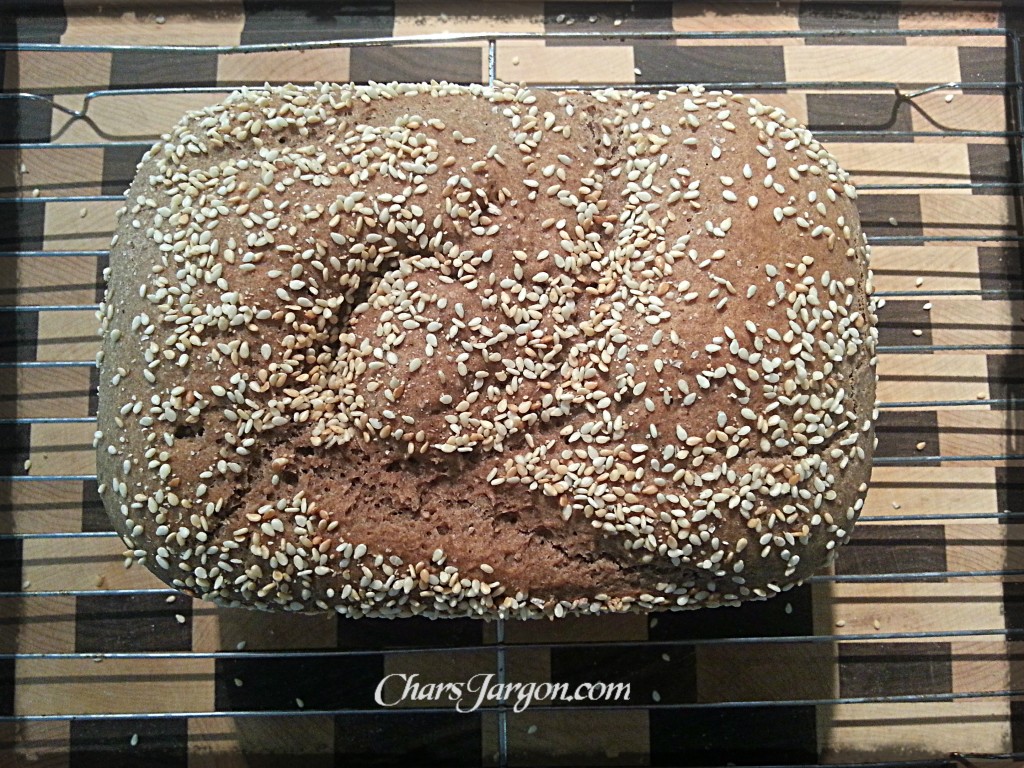 Here we are just an hour later and it’s done! As per norm you want to tip it over onto a wire rack to cool. I let it cool about 20 minutes and then transfer it to the cutting board where its perfect temperature makes it easy to cut into and then it also allows the center to cool for packaging.
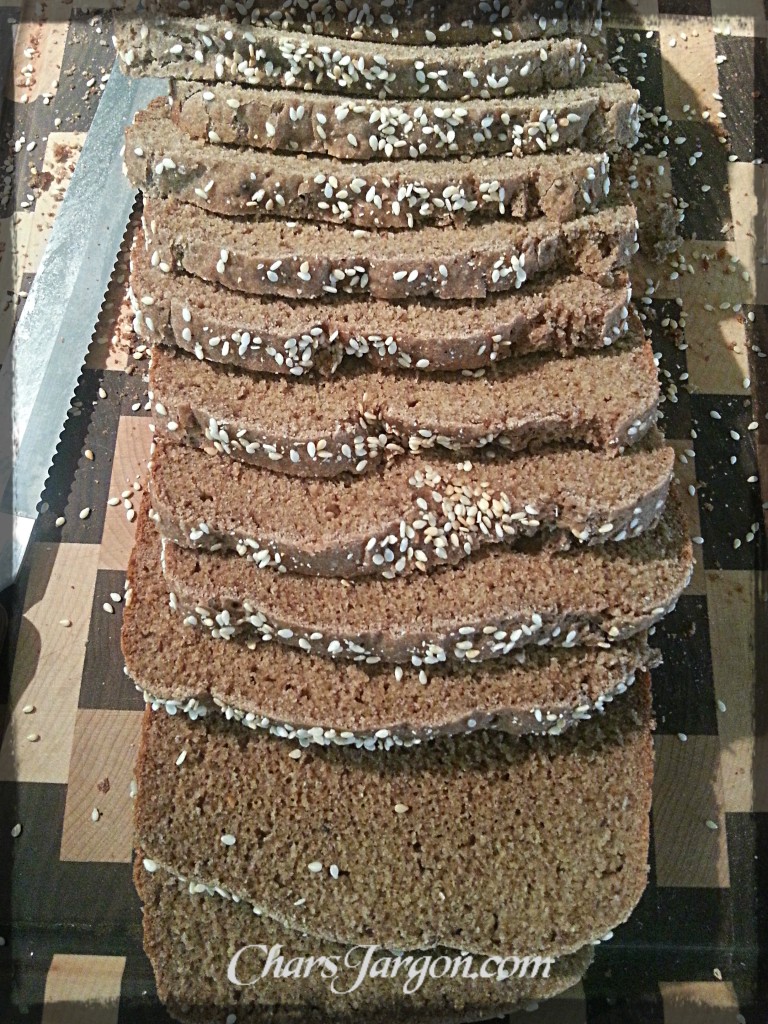
Since making this last night I have had it fresh and I mean warm fresh and I have had it toasted; both of which were amazing!! Trust me the hardest thing is not to just keep eating it!!
Recipe adapted from Gfrealfood